
My solution was to construct an elevated target tower. Initially I was contemplating something with pulleys and counterweight, but went with something simple and effective, and pretty much designed it as I went along. It requires a bit of muscle to lower and raise for target changes, but it's easily manageable. Below we look out to this target tower from my back sun porch, where my shooting table is set up. It's there in the middle of the photo...can you see it? I'm surprised I can hit those little red dots from here, lol. I'll take you a little closer.


I built this contraption last year (2010) with practicality and durability in mind, and I think I've succeeded there. It held up through our nasty winter and then Hurricane Irene, without moving at all. The wood is all PT except for the expendable face, which sits in grooves at the edges and easily slides out when the top of the target box is removed. I have about 7,500 to 8,000 pellets into it so far.


Got to Love Home Depot! Above you see the simple slide mechanism, and the no-harm-done means of anchoring to the tree (this tree has seen better days though). Notice the block of wood tapped in under the anchoring strap, to keep it tight. The heavy duty L-bracket is recessed into the vertical main beam, so the target box can be easily raised all the way up without bumping into it. It's good to own a router.

The angle cut (above) keeps things stable and safe, locked together until the moveable support beam is lifted out for lowering of the target box. Below is the pivoting "foot", firmly anchored with PT stakes and galvanized hardware. Pivoting allows the foot to conform to the incline of the land. The main beam is pointed and extends several inches below the foot and into the ground, further anchoring and stabilizing the whole assembly. The block with the angle cut (below) is where the moveable support beam (the piece with the handles on it) will rest when the target is in the halfway down position.

Time to bring 'er down to change the target out. As I mentioned, some effort is needed to lower and raise a box made out of thick pressure treated wood and filled with dense electrician's duct seal as a means of stopping pellets - which it does very well, I should add. First, I grab the lower handle and bring the moveable support beam down to rest on the lower support block, putting the target box in its halfway-down position - looks like this:


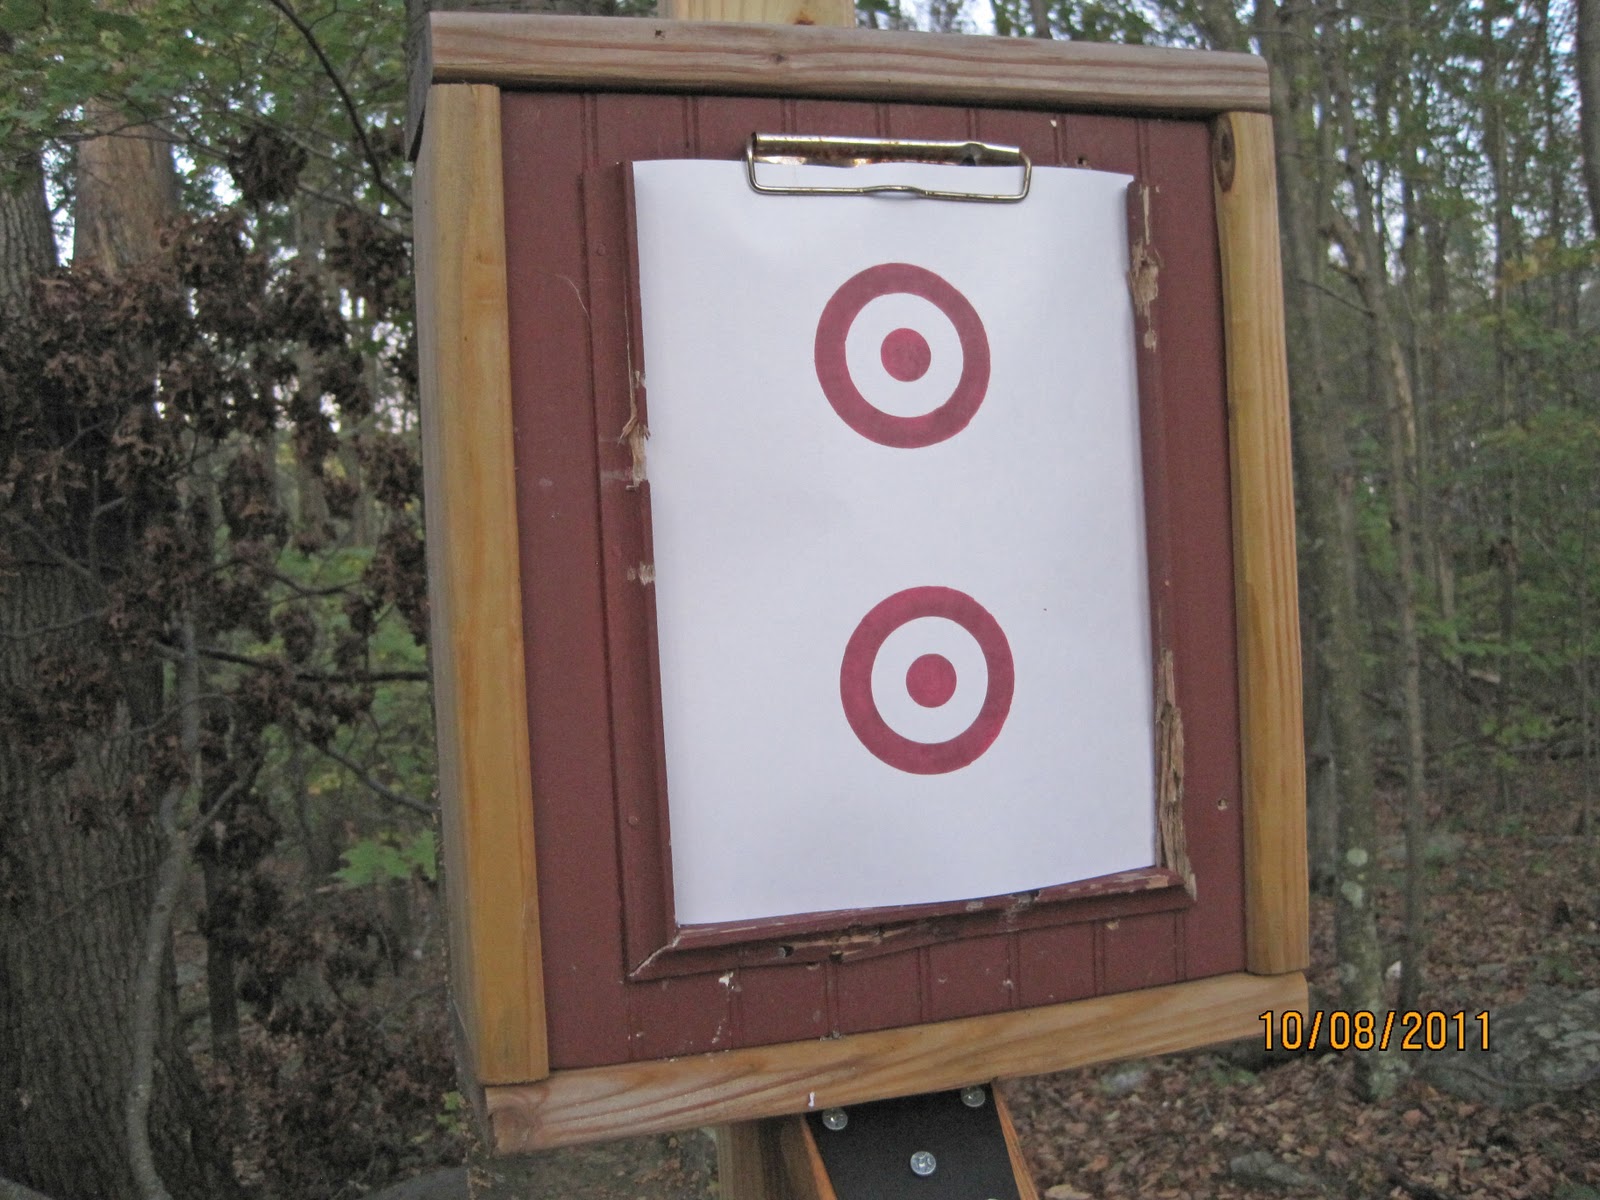
Then I'll grab the upper handle and lower the target box (below) to its bottom position, where it's sitting atop the lower main beam. The moveable support beam just rests on the ground in front of the tower at this point. This puts the target box at perfect working height, allowing me to change out targets easily - looks like this:


There's about 30 pounds of electrician's duct seal in the box (below), a bit of overkill but I don't care. It's cheap and effective - here's a link to the stuff:
Consistency doesn't seem to change with New England's temperature fluctuations, and you can shoot many, many pellets into this stuff before needing to clean it up and top it off. The amount in my target box would probably stop subsonic .22 rimfire. Pellets and bits of duct seal which collect at the bottom are easily collected and disposed of properly.


Let's get our new target in there and get 'er raised back up for some shooting! Procedure is the reverse of the lowering sequence. I can do a target change in about 30 seconds, but what's the hurry? Shooting is my relaxation time. Make sure you get yours in soon!

Friends who come over to shoot think it's pretty neat. Should I paint it camo, just for the heck of it? In addition to being on a level shooting plane, safety is enhanced due to the lay of the land beyond the target (treetops, much further than my pellet will ever travel). It's a nearly silent trap, requiring just about zero maintenance. Have fun putting yours together!
Safe Shooting,
Ken
The guy in the electrical dept at Depot looked annoyed that I was buying out all his duct seal lol. I think 3 or 4 inches of it would probably stop a small handgun bullet, since my Benny hardly sinks the pellets in a half inch.
ReplyDeletePure awesomeness, you should
ReplyDeleteNice place to put this thing up.
ReplyDeletethis is amazing blog about shooting, wonderful blog, I like it.
ReplyDeletePerfect place for shooting. The Pellet Trap is appropriate for shoot accurately. Thanks for the post.
ReplyDelete